ADA Parking Lot Striping Requirements: A Minnesota Property Owner’s Guide
ADA parking lot striping requirements, explained for Minnesota property owners.
- Plain-language summary of the federal ADA framework
- Minnesota-specific verification steps
- Based on the 2010 ADA Standards for Accessible Design
- Not legal advice — verify with your local authority
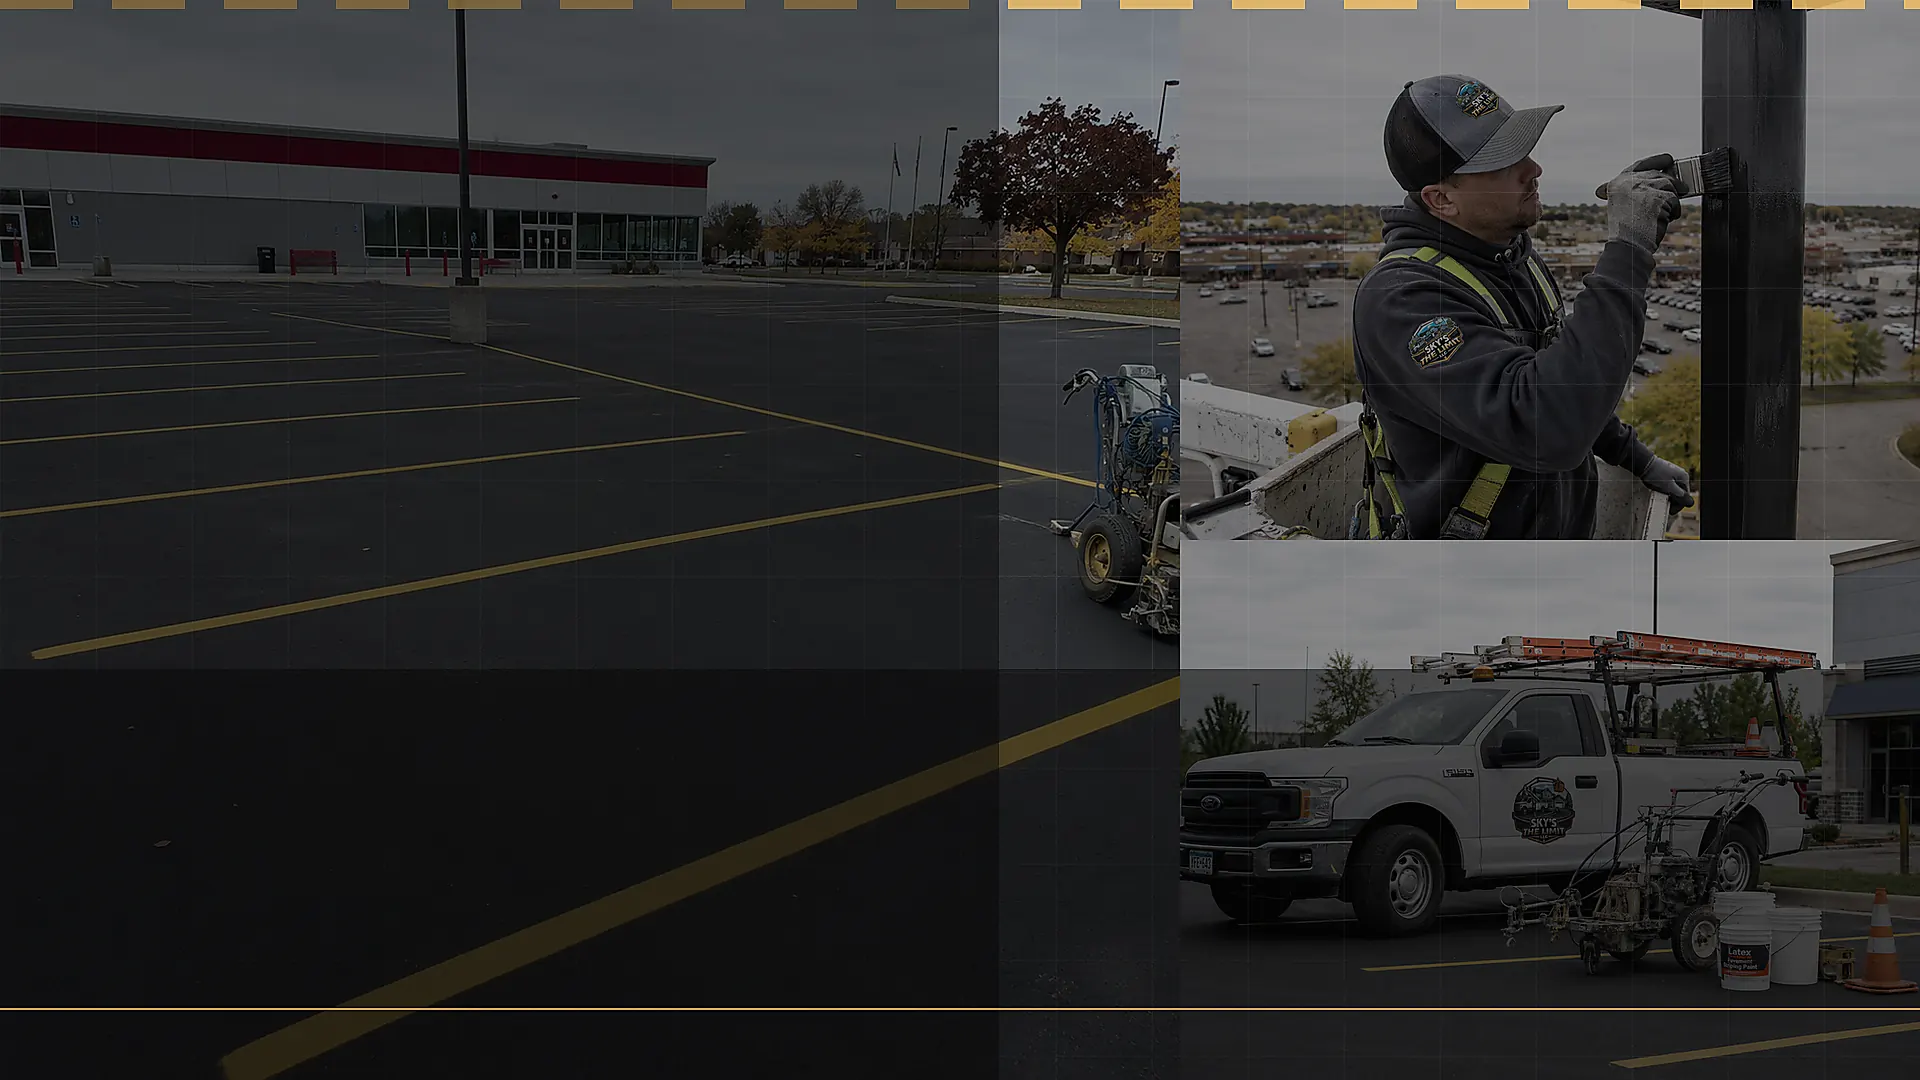
Field record
Real surfaces. Written preparation. Owner-led review.
Plain-language summary of the federal ADA framework
Minnesota-specific verification steps
Based on the 2010 ADA Standards for Accessible Design
Not legal advice — verify with your local authority
Price the real surfaces, not a generic package.
A Minnesota property owner’s plain-language guide to ADA accessible-parking striping requirements — space counts, van-accessible spaces, access aisles, and signage — plus what Minnesota adds on top.
01
Accessible space counts by lot size
02
Van-accessible space requirements
03
Access aisles
04
Signage rules
05
Minnesota code-layer checklist
Clear steps before anyone starts painting.
The same owner-led sequence carries the project from scope to closeout.
Step 01
Assessment
Walk the lot: count spaces, measure accessible stalls and aisles, check signage and slopes.
Step 02
Layout Plan
Chalk a layout that hits space counts, van ratio, widths, and closest-to-entrance placement.
Step 03
Restripe
Professional striping, surface prep, and stencils for ISA symbols, arrows, and lettering.
Step 04
Verify
Confirm the finished layout against the requirements before the crew leaves.
ADA Parking Lot Striping Requirements: A Minnesota Property Owner’s Guide
This guide explains the federal ADA framework for accessible parking striping in plain language — space counts, van-accessible spaces, access aisles, and signage — and where Minnesota’s own rules layer on top. It is a starting point, not legal advice: requirements change, and your city may ask for more than the federal minimum. Verify your layout with your local authority before you stripe.
If you are a property manager staring at a faded lot and wondering what you actually owe, this guide lets you read your own lot the way an inspector would. When you are ready to fix what you find, our ADA striping services page covers what we do about it.
The Federal Framework: 2010 ADA Standards for Accessible Design
Accessible parking under the ADA is not just a blue wheelchair symbol. The 2010 ADA Standards for Accessible Design set specific, measurable requirements for parking on lots open to the public. Here is the framework in plain terms.
Space counts scale with lot size, and the standards define the required share of van-accessible spaces, minimum widths for spaces and access aisles, slope limits, and sign mounting rules. We do not reproduce the federal tables here — requirements change, and Minnesota building code and your city can add requirements on top of the federal floor. Use this guide as the shape of the rules, then verify the exact numbers for your lot with your local authority having jurisdiction before you stripe.
Accessible spaces must also be on the shortest accessible route to the building entrance. Again — this is a summary, not the code book. Read it as the floor your lot has to clear, then verify the details with your local authority.
What Minnesota Adds on Top
The ADA is federal law, but it is not the only rulebook. Minnesota adopts its own building code and accessibility provisions, and cities and counties can add requirements beyond the federal floor — on accessible-space counts, stall and aisle dimensions, or how the accessible route connects to the building entrance. A layout that clears the federal Standards can still fail a local inspection.
The practical move: verify the layout with your local authority having jurisdiction — your city’s building department or the county — before a new layout or a major restripe. Local inspectors enforce local rules, and they are the ones who sign off. When we do an ADA layout assessment on a walkthrough, we check the configuration against the current requirements and flag anything that needs local confirmation — then you stripe once, not twice.
Where Minnesota Lots Go Wrong
Minnesota lots fail for a handful of repeat reasons, and winter is behind most of them. Plow blades scrape flat-painted wheelchair symbols in the drive path first — when the symbol wears away, the space stops reading as accessible even if the stall is still wide enough. Access aisles get painted too narrow, or painted correctly and then used as a drive lane or snow-storage strip all winter.
We also see lots with accessible spaces but no van space, van-width spaces without the “van-accessible” sign, signs mounted too low or knocked out by a January storm, and wrong counts after a restripe added a few extra stalls. Older asphalt settles too — what graded at 1:48 when poured can exceed it ten winters later.
The pattern is always the same: the layout drifts while the paint fades, and nobody catches it until a complaint or an inspection. A spring walkthrough of the accessible stalls and aisles is the cheapest compliance insurance a property manager can buy — it costs a phone call.
What To Do About It
Start with an assessment, not paint. Walk the lot, count total and accessible spaces, measure stall and aisle widths, check sign heights, and note the slopes. Compare what you find against the framework above and your local rules. Then restripe to a compliant layout — crisp lines, correct symbols, proper signage — and keep a record of what the finished layout meets.
That is exactly what our ADA walkthrough does: free, on your lot, measured and documented, with a written number for the restripe. No legal advice, no guesswork — a layout you can defend.
Asked before every project like this.
- Are ADA striping rules the same in every Minnesota city?
- No. The federal ADA Standards are the floor every lot must clear, but Minnesota’s building code and local city or county rules can add requirements on top. Verify the layout with your local authority having jurisdiction before you stripe.
- How many accessible spaces does my lot need?
- It scales with lot size: the required number of accessible spaces grows with total stall count, and a defined share of those must be van-accessible. We check the count on every lot walkthrough and flag anything that needs confirmation with your local authority.
- What makes a van-accessible space different?
- The 2010 ADA Standards allow two compliant van layouts: a van space at least 132 inches wide beside a 60-inch access aisle, or — as an alternate — a van space at least 96 inches wide beside a 96-inch access aisle. Either way the space carries a sign reading “van-accessible” mounted at the required height, and the access aisle adjoins an accessible route. Confirm the layout with your local authority having jurisdiction before you stripe.
- Do painted wheelchair symbols satisfy the signage rule?
- No. Painted symbols are markings, not signage — the federal rule requires the raised sign mounted at the correct height. Paint alone fails the sign requirement.
- How often should a Minnesota lot be restriped?
- When the markings stop reading clearly — plows wear accessible symbols first. Schedule a walkthrough each spring, and restripe when lines, symbols, or aisles no longer read as compliant.
Send the surface story once.
Photos, location, timeline, and access constraints give the first response enough context to be useful.
Photo evidence
Add a public Google Drive, iCloud, Dropbox, or album link.
Correct service lane
This request enters the commercial estimate path.
Structured next step
Anthony receives the project facts instead of a vague callback request.
ADA Requirements Guide project details.
Share the project conditions first. Contact details come after the useful scope information.